Fall Planting 101
General Recommendations
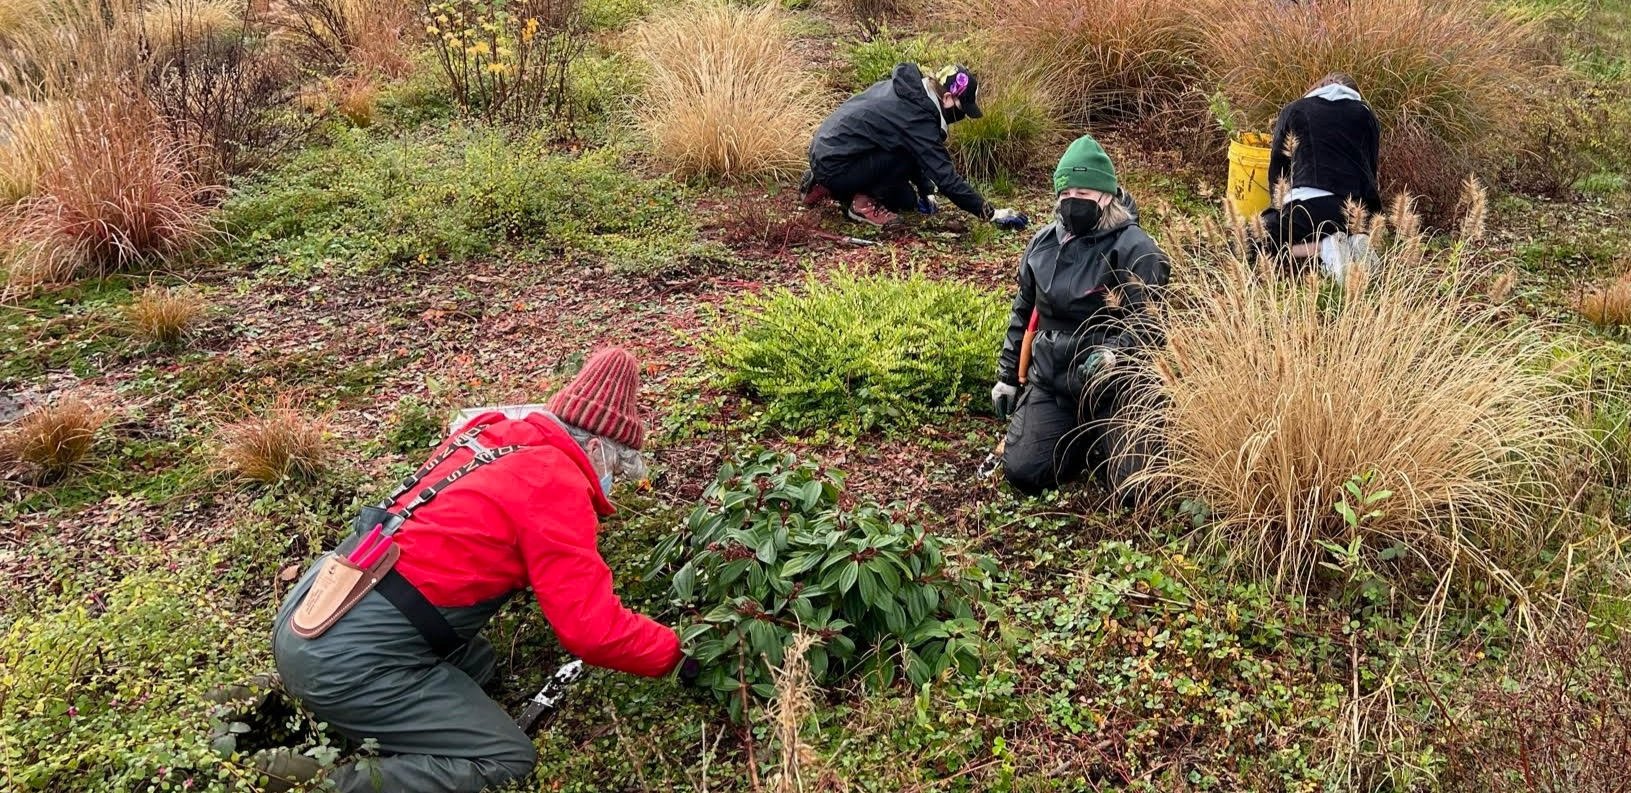
It’s important to get your plants in the ground ASAP, especially if you purchased 4’’ plants! Fall is a great time for planting, as it gives the plants a little time to develop strong and healthy roots before winter dormancy and be better equipped absorb all of the wonderful nutrients that become plentiful in the growing season. The bottom line is, planting your plants now sets them up for success! Here are some tips for the best planting practices:
Dig broad holes and loosen the soil around the edges, this helps the roots penetrate the soil more easily
Keep things moist! Use your hose or a spray bottle to ensure that the hole you’ve dug and the plant going into it are nice and moist before planting.
Massaging the roots helps healthy ones make direct soil contact
Make a “moat” around the plant after you’ve covered it again. Once the plant is in the ground, use your fingers to make a little depression around the edge of the planting hole, this helps to focus water around the plant and let it drain to the roots more easily
Plant slightly above ground and then apply coarse mulch -- make sure you do not bury trunks/stems
Water! Water! Water! While yes, many of these plants are entering dormancy or are drought tolerant, they still need water to establish healthy roots in the meantime. Rain in the forecast does not mean you can skip watering, as the rain may not have penetrated the soil deeply enough for the plant to absorb. Watering now will reduce the plant’s need for water later in the season.

Special instructions for ‘root bound’ plants
A root bound plant is one that has run out of growing room in its pot, and the roots may start growing back around and up, “binding” the soil and roots together and eventually creating a big tangle that is not great for planting. A root bound plant is not doomed, they just need a little extra prep before being planted!
Trim any roots growing out from the drainage holes
Remove the pot
Assess the quality of the roots. Do they seem dry and shriveled or healthy?
If the roots are dry, prepare a tub of water for your plant to soak in after completing the next step.
CAREFULLY take a sharp knife, machete, or hatchet and shave off the bottom roots that are curling around the pot. This does not kill the plant! But you don’t want to remove too much- the goal is to remove as little as possible while ensuring that the root ends are hanging down and not curling up or around themselves. If your plant also seems bound on the sides, you can make a shallow (less than .25 inch) cut vertically on the sides of the soil/root ball. Pruners work for this job, too. Imagine you are marking North, South, East, & West.
Massage or soak the roots to help loosen them up. If your roots are dry, let the plant(s) soak in a tub of water for 10-20 minutes. You don’t want to rinse all the soil off, but it’s okay that the plant loses some.
Plant in the ground, ASAP!

Why do my plants look unhealthy?
You might notice that some of your plants are twiggy, yellowing, defoliated, or even mildew-y. This is normal! Fall is when many plants begin to go dormant. Just like deciduous trees, shrubs and perennials will lose their leaves, stems, and may look completely dead, but there is still lot’s of life developing under the soil! As long as they develop healthy root systems to survive the winter, they will flourish in the spring and summer.
If you’re unsure if something is normal or if the plant is dead, take some photos and email us at nativeplantsalvage@gmail.com so we can help you asses how to move forward.